I went on this kick several months ago where I gathered up in an email all the free printable patterns I could get my hands on! The email was soon forgotten and pushed aside because I was just so busy! After doing a mass clearing of my inbox I found the old email and went through it. One dress in particular really stood out to me! That pattern was the Garden Party dress. Simple, yet very structured and classy. Clean lines and could be made in many different styles depending on the fabric I chose. So, I printed out the pattern and began putting it all together with really no fabric in mind.

Here is the kitchen Island COVERED in 40 pages of wonderful pattern! Took me quite a while to cut and tape everything together! I left it laying on the guest bed because I had no fabric! Fear not however, because the fabric store had a wonderful holiday sale! That is where I found the wool fabric I fell so dearly in love with! Then, could you imagine my luck? A huge snow storm blew through giving me 2 whole days off to work!

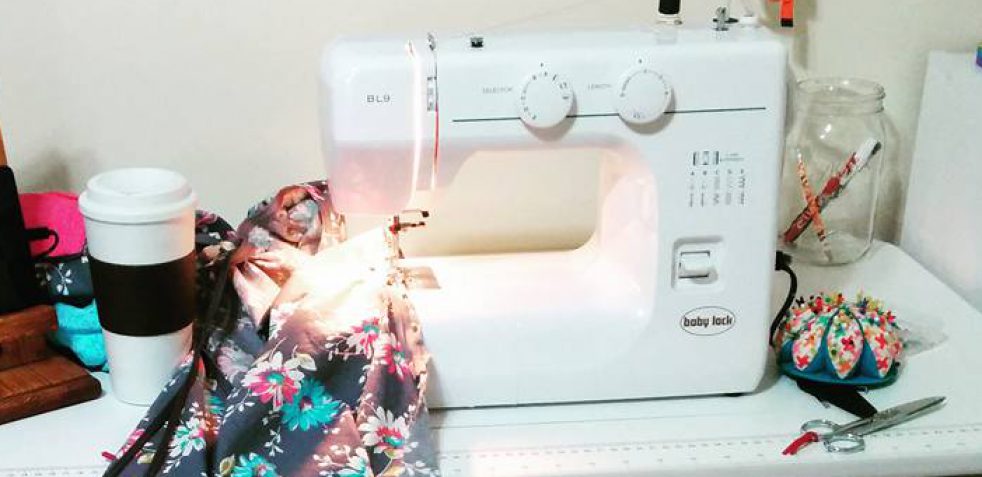
I spent the first day measuring, and measuring again, and measuring again just for good measure! You see, the last project despite my best effort had to be taken in almost 4 inches! This time, I decided, I was going to be spot on I told myself. So I set about cutting each piece ever so carefully despite HATING the process of cutting things out! Its easily my least favorite part because I just want to get on with the exciting work of putting things together.

The first order of business was darting the bodice. Not entirely sure if I dart things the “correct” way but I get it done! I marked out where my darts were to go with pins then, put a baste stitch to “draw the darts” because I had no chalk or fabric markers. The bodice was simple and straight forward after darting both the front and back and sewing them together I could move on to the sleeves. This is where things began to fall apart for me! The sleeves were to large for the armhole and I was baffled! The pattern did not call for gathering the top of the sleeve? Thinking a cap sleeve would be lovely anyway I foraged ahead and took in the extra sleeve material. “Hooray! I have the full bodice the rest should be easy!” Folks, word from the wise here NEVER think the rest is all going to be a breeze! Haha thats when projects prove to be the most frustrating for me. I tried on the bodice and had my aforementioned melt down! It was tight and awkward! I grew upset and frustrated and quit for the day.

Here is a close up of the v-neck which is a detail I love! I added this adorable over stitching using my edge joining foot for an extra detail to really bring out the clean lines of this pattern. I really wish someone would have told me about the edge joining foot a long time ago. The BEST way to add wonderfully clean lines!
 The next day brought a new batch of coffee and thus more motivation! Fit or not I WILL get this project done! So, I began pleating the skirt and sewing it all together. I adore these pleats! They face the front of the dress which I think really adds something different and interesting. Also because of the thickness of the material they open up and add body to the dress.
 Once the bodice was sewn to the skirt all that was left was to add that pesky zipper and then hem it up! When I say pesky zipper what I really mean is “easily the most frustrating part of the whole project”. I DO NOT like putting in zippers which means I only need to practice them instead of avoiding. Let me tell you this time I got plenty of practice! After putting it in the first time I was too excited to try it on to really examine my work closely! So, I put it on and low and behold it fit! HOORAY! I wore it around the house for a while and admired my work (mostly because I couldn’t unzip it myself). Relieved to have the project tackled and that it fit (well mostly the arm holes are quite tight and constricts movement a bit) I left it at the desk for a few days until the morning of my photo shoot. MISTAKE #1 I pick up the dress thinking I was only going to be putting in a quick hem but after close inspection I realized that clearly a drunken man sewed in the zipper because the stitches were not straight anywhere! Ripping the zipper out I set to making MISTAKE #2 thinking it would be just a quick fix. Nope, rushing through I realized the second try was just as wobbley! This made me tremendously frustrated so I left to eat breakfast and came back with a new resolve. This time I relaxed, took my time and guess what? It turned out wonderfully straight! I easily added the hem and set off for a group photo shoot a friend was hosting. Let me tell you, Lexie House is a darling photographer! She has done photos for me on several occasions and is always so patient even when I want to try silly or crazy things! Also she makes me look darn good! After the group shoot was over she was kind enough to take a few photos of my dress so I could bring it to everyone in high quality! So here we are, the finished product! Let me know what you think! I will add the link at the bottom to the original pattern and all credit for the pattern goes to her! PLEASE let me know what you think! About this post, the dress, and any thoughts you have about this project!


ALL PHOTOS WITH WATERMARK ARE CREDITED TO: http://www.lexiehousephotography.com/
PATTERN BY: http://honig-design.blogspot.com/
AND CAN BE FOUND HERE: http://honig-design.blogspot.com/2013/03/garden-party-dress-pattern-free.html#.UtbqBPRDt2R

I love the dress, it suites you a lot, now it just needs coloured accessories!!!
If I had to make an note it’s that there seems to be something wrong with the back zip, I think the dress is ever so slightly tight and it is pulling on the zip.
Also I now need an edge joining foot.
The armholes are indeed tight which pulls on the back quite a bit! If i ever make another version I will have to make the arm holes bigger! Part of the problem was the thickness and lack of give in the fabric I think? Any tips on how I would fix that? I went without accessories for this post to show off the dress but Ill be adding some next time I wear it! The edge joining foot is so wonderful! I used it for the first time on this project!
In don’t suppose there is any seam to let out on the sides?
Gorgeous, I hate zips, I don’t think I’ve ever managed to put one in first time. I wonder if that’s why I’ve gravitated towards corsetry, not a zip in sight!
Great job! What a beautiful dress!
I just get the patern and your dress look lovely! good job!
Fabulous dress. Love the pleats, makes it look elegant. 😊
Thank you so much! I cant wait for it to cool off again so I can wear this dress again!